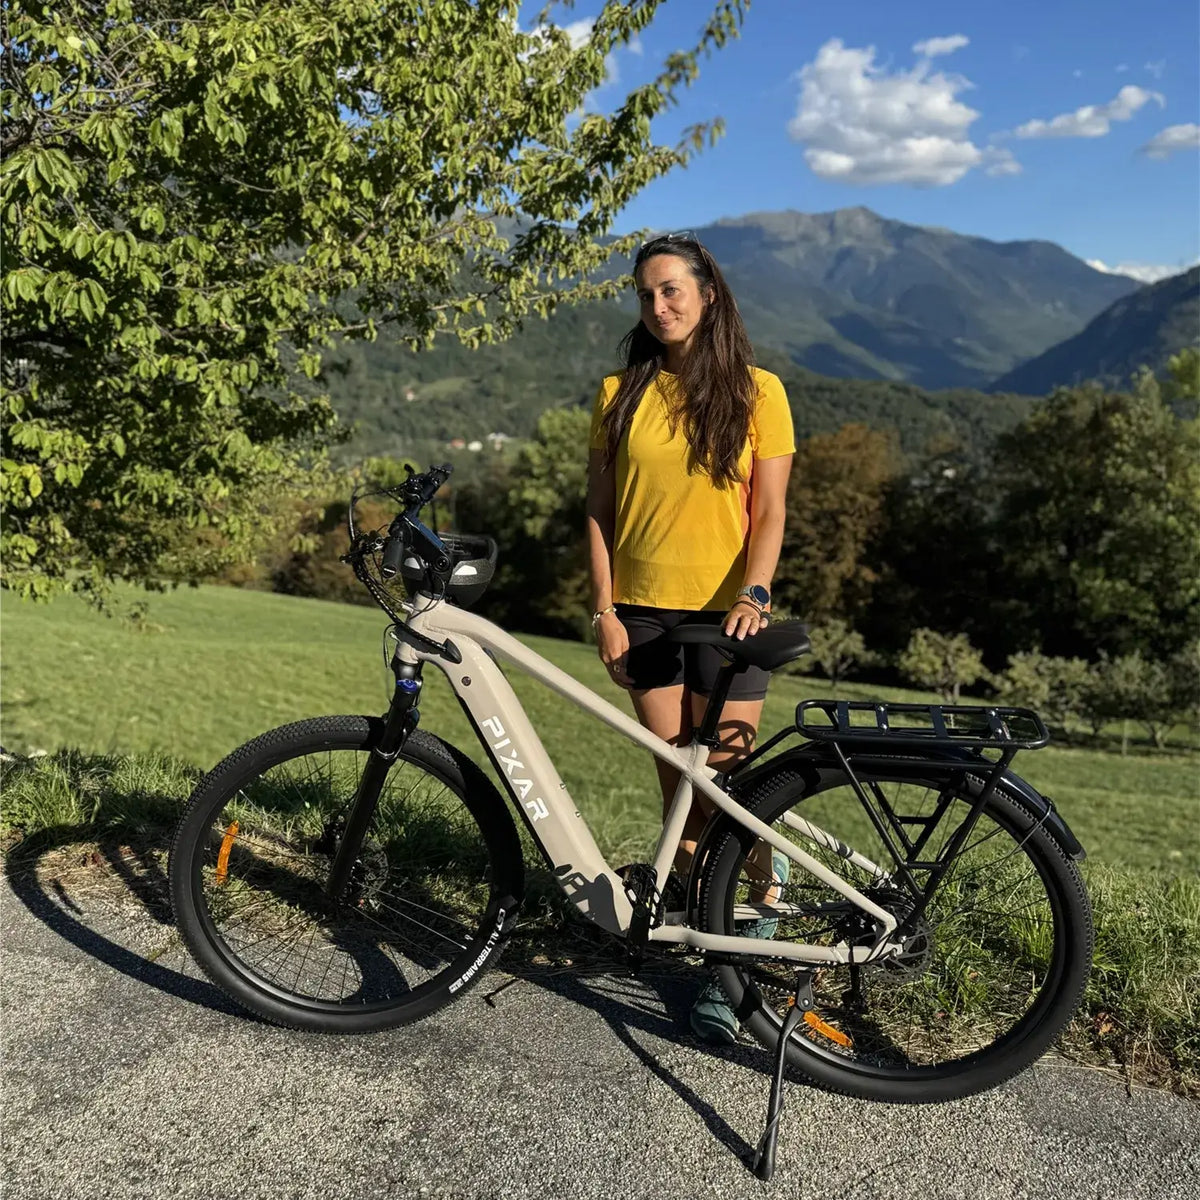


To charge an electric bike, switch it off, use the charger supplied for its battery and connect it in the order specified for that model. Charge in a dry, ventilated place where you can keep an eye on it, then disconnect when charging is complete. You can top up a lithium ion battery without waiting for it to run flat.
A short commute may need only an occasional top up; a long weekend ride may call for a full battery. The steps below cover connecting the equipment, judging charging time and choosing how much charge you need.
How to charge an electric bike: step by step
1. Switch off and check the battery
Park the bike securely and switch the electrical system off. Check the battery case, charger cable and visible charging connection. Do not charge equipment with cracks, swelling, leakage, damaged wiring or signs of overheating. Have damaged equipment assessed before using it again.
After a very cold or hot ride, let the battery return naturally to the charging temperature stated in its instructions. Check that the charging connection is dry. A fixed wait of 20 or 30 minutes cannot tell you whether every battery is ready.

2. Identify the right charger and port
Use the supplied charger, or a replacement approved for that exact battery. Locate the charging socket using the bike instructions; do not confuse it with a USB accessory port or the contacts that connect the battery to the bike.
| Label information | What it tells you | How to use it |
|---|---|---|
| Battery model | The identity of the battery pack | Use the full reference when checking replacement compatibility. |
| Charger input | The mains supply the charger accepts | Check suitability for the outlet you intend to use. |
| Charger output, in V and A | The charger's electrical output | Match the approved specification, not just the connector shape. |
| Battery capacity, in Ah or Wh | The pack's nominal capacity | Use it to identify the battery, not as permission to fit a faster charger. |
A battery's nominal voltage and its charger's output voltage need not be identical. For example, the C1 manual pairs a 36 V battery with a 42 V charger. That does not make every 42 V charger suitable for the C1.
3. Connect in the specified order
Fit the plugs fully without forcing them. The connection order is model specific: some instructions say to connect the battery first, while others start with the wall outlet. Use the sequence for your equipment rather than a different bike's routine. The C1 example below gives its exact order.
4. Confirm charging has started
Look for the charging indication described in the instructions. Note the battery level at the start so you can check progress. A charger light that is already green before the battery is connected is not proof that the battery is full.
5. Disconnect and prepare the bike for riding
When the system indicates charging is complete, disconnect the charger from the mains and battery as instructed. Hold the plugs rather than pulling the cables, then close the charging port cover. If you removed the battery, refit and secure it before riding.
How long does it take to charge an electric bike?
Allow several hours for a full charge; a partial top up usually takes less time. The useful estimate is the one for your battery and approved charger, with the starting charge level taken into account.
The difference can be substantial even within one system. SHIMANO's Gen.2 manual lists approximately 6 hours 30 minutes from empty for a BT-EN404 battery with an EC-E6002 charger, compared with approximately 3 hours using an EC-E8004 on a 220–240 V supply. These are SHIMANO combinations, not PIXAR charging times or a recommendation to interchange chargers. See the manufacturer's charging table.
When planning a charge, check three things:
- Starting level: a battery at half charge needs less energy than an empty one. A quoted time from empty to full is not the time required after every ride.
- The specified charger: charging time belongs to a particular combination. Do not upgrade the current rating without the battery manufacturer's approval.
- Charging conditions: a battery outside its permitted temperature range may refuse to charge. Bring it into suitable conditions rather than allowing extra time at an unsuitable temperature.
For your own routine, note the starting level and time on a few normal charging sessions. This helps you schedule a top up while you are at home. Use the charger's completion indication and the manufacturer's instructions to decide when to disconnect, not a timer alone.
Should you charge an ebike battery to 80% or 100%?
Charge for the distance you need next. A full charge before a long ride and a partial charge for a short commute serve different purposes. Avoid leaving the battery full and unused for an extended period, and do not put it away nearly empty.
Advice to stop at 80% is intended to reduce time spent at a high charge level during routine use. It is not a universal ban on charging to 100%. Gazelle, for example, recommends partial charging for everyday use while allowing a full charge before a longer ride in its battery charging guidance. Your battery's instructions also take priority for the first charge and any maintenance charging.
If your system has an official charge limit, use its documented controls. If it does not, a few illuminated bars do not give you an exact 80% reading. You do not need to modify the charger or buy an unapproved one to chase that number.
Should you charge after every ride?
Not necessarily. You do not need to empty a lithium ion battery before plugging it in, nor must every short trip be followed by a full charge.
| Your next use | How to plan |
|---|---|
| Another short, familiar commute | Check whether the remaining charge covers the return journey with a reserve. Top up if needed; there is no need to run the battery flat first. |
| A longer ride or limited access to charging | Arrange a full charge as your manual permits, close to departure. Include hills, luggage and the return trip in your range planning. |
| Several weeks without riding | Follow the storage charge level and checking interval specified for the battery, rather than the routine for tomorrow's ride. |
Base your reserve on familiar journeys rather than the largest distance printed on a product page. Our electric bike range guide explains how assistance, hills, load and weather change the distance between charges.
Charging at home, in an apartment or at work
Choose a dry, ventilated space away from direct heat and flammable materials. Put the charger on a stable surface with its ventilation unobstructed, and keep the cable clear of places where it could be pulled or tripped over. Keep exits clear. Bosch's battery safety guidance also calls for supervised charging and disconnection afterwards.
If the bike parking area has no suitable outlet, a removable battery can make charging much easier: take the pack to a suitable indoor location instead of moving the whole bike. Follow its removal instructions and support it securely. At work or in a shared building, obtain permission to use the space and electricity; an available socket alone does not establish permission.
Can you charge an electric bike overnight?
Plan to charge while you are awake and able to monitor it, rather than while sleeping or away from home. An automatic end to charging does not replace supervision. For C1 owners, the manual specifically advises against overnight charging or leaving it unattended for long periods.
If you usually arrive home late, charge earlier at an approved location or arrange a session the following day. A reminder can help you check progress; it should not replace checking the battery and disconnecting the equipment.
What about a cold garage or a wet ride?
The temperature where the bike is parked may be outside the battery's charging range. Let a cold pack warm naturally in a dry room, and check for condensation before connecting it. Do not use a radiator or other direct heat source to hurry the process. For seasonal charging and storage, see our winter battery care guide.
How to charge the PIXAR C1

The C1's EU user manual, Battery & Charging section, gives this sequence:
- Switch the bike off. If removing the battery, use the key's unlock position and support the pack.
- Connect the supplied charger to the battery's charging port first.
- Connect the charger to the wall outlet.
- On the charger described in this manual, red indicates charging and green indicates completion.
Disconnect after charging and refit and lock the battery before riding. Keep the supplied charger with its bike; do not assume chargers for different PIXAR models are interchangeable.
If your bike stays downstairs, the C1's removable battery lets you bring only the pack to your charging space. See the PIXAR C1 specification and available configurations, or compare the PIXAR electric bike range for your riding and storage needs.
What if charging does not start normally?
Record what the equipment does before replacing anything. A light alone cannot identify a failed battery.
| What you notice | What to record |
|---|---|
| The charger shows a light, but the battery level does not rise | The battery level before and after, and whether the charger light changes when connected. |
| Charging begins, then stops early | The elapsed time, battery level and any flashing light or error code. |
| The battery has just come from extreme cold or heat | The recent conditions and whether it has returned to its permitted charging temperature. |
Our ebike battery not charging guide explains the external checks and what to send to support. Do not open the battery, bridge contacts or try an unapproved charger. For visible damage, leakage or unusual heat, stop using the equipment and have it assessed.
Frequently asked questions
Do I need to charge a new ebike battery for 12 hours?
Not as a general rule. Follow the first charge instructions for the battery and use its completion indication. Do not leave it connected for extra hours simply to reach a number found online.
Can I stop charging before the battery is full?
For routine use, lithium ion ebike batteries can accept partial charges. Disconnect using the prescribed procedure. Follow any separate first charge or maintenance instructions supplied for your system.
Can I use a normal wall socket to charge an electric bike?
Yes, with the correct mains charger for the bike and an outlet suitable for the input shown on its label. Connect the charger, not the battery directly, to the wall socket.
Can I use a 4 A charger instead of a 2 A charger?
Only when the battery manufacturer approves that charger for the exact pack. A matching plug or similar voltage does not establish compatibility. Ask for confirmation using the battery model and charger label before buying a replacement.